

Oh yeah! Hot water at the touch of a button—or rather the attaching of alligator clamps… and a 15min wait for the car to warm up.
One of the creature comforts we have decided we cannot do without, is the ability to have regular hot showers. This is not only because we like to be clean, but we’d prefer that sharing a dingy shower cubicle with assorted insects was optional. Having our own shower simplifies free camping, removing the need to source regular showers.

We had seen a video of a chap who had installed a similar system on his Bronco so we decided to pretty much copy exactly what he did, no original thought required… excellent! First up, we ordered a heat exchanger and water pump.

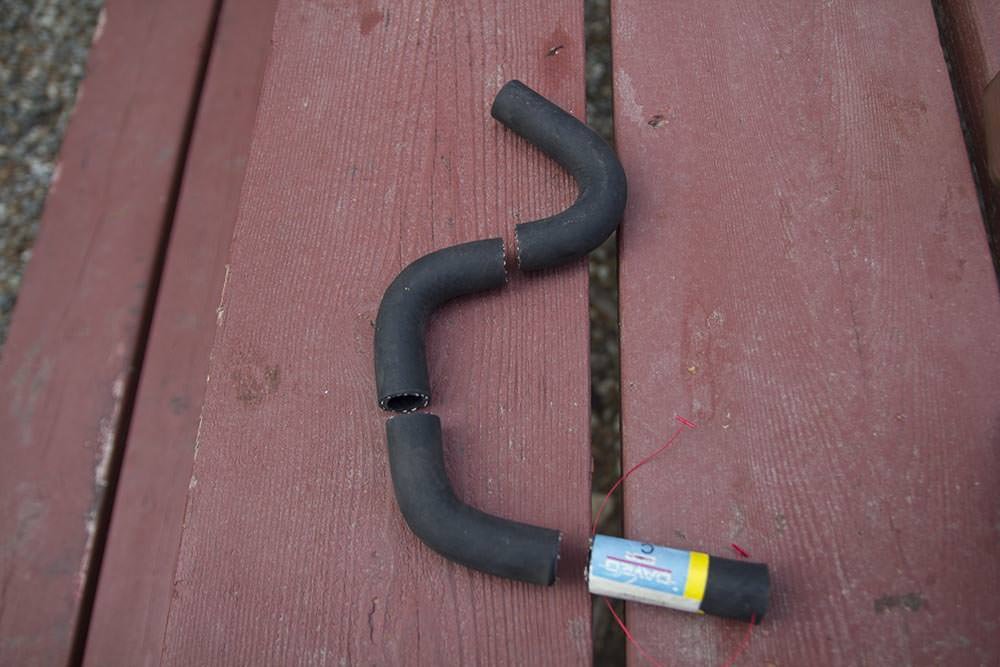
The heat exchanger came from a company in Alabama, called Duda Diesel and we bought the pump off Amazon. We bought all the necessary fittings and hose from Home Depot (who then had their credit card system “breached”, but that’s another post). We also bought aftermarket preformed hose to cut up for the required bends in the system.
The hard part was mounting the heat exchanger. Space under the hood is at a premium. Luckily there was enough room on the passenger side rear of the engine bay under the wiper motor… as well as some conveniently unused factory bolt holes. Initially, we were simply planning to bolt the heat exchanger to the fender through the existing bolt holes. However, because the exchanger was flat and the fender curved, we thought it better to mount the heat exchanger on a bracket.


Making the bracket was fairly easy using some mild steel, a hatchet and a grate from a fire pit we managed to shape the bracket.


Once we had the shape of the bracket right it was simply a case of drilling the holes and bolting everything together.

At this point, we chose to add a leg to stabilise the bracket. Although we never tried mounting the heat exchanger without the leg we assumed once everything was mounted, chances were, it would vibrate too much. It turns out adding the leg made it incredibly solid, so it was probably a wise decision.

Once the heat exchanger was mounted the hose from, and back to, the heater circuit needed to be plumbed in. The easiest way to connect the hoses was to divert the heater circuit after the heater valve and before the firewall. Not only was this extremely easy to do but also meant the temperature of the water can be controlled by the heater dial inside the car.

We used quick release garden hose fittings for the shower side of the heat exchanger.
Heat exchanger mounted and plumbed in:


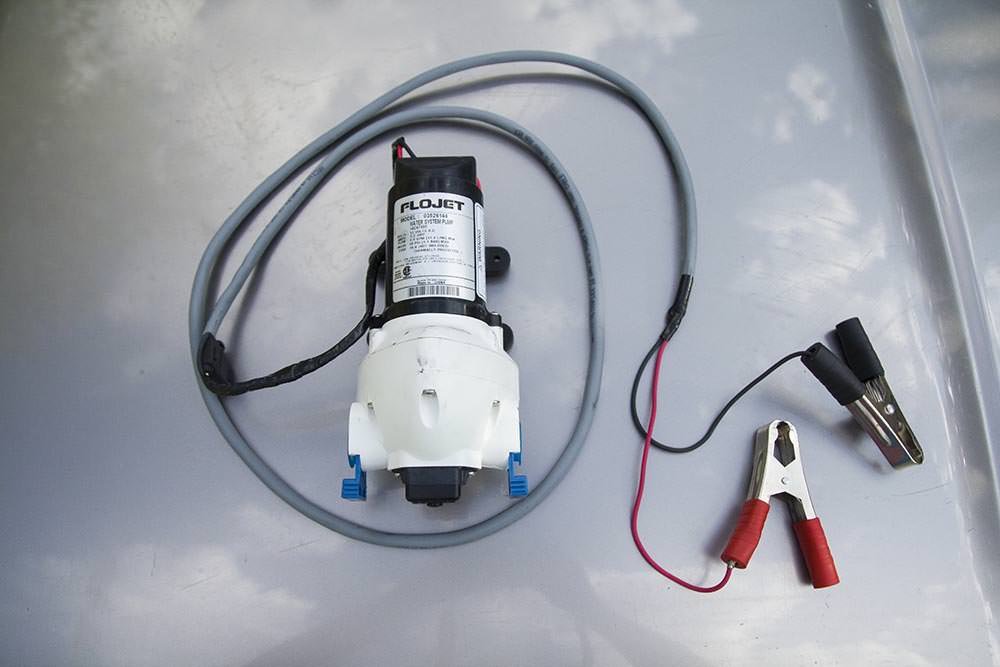
Initially were intending to buy the cheapest pump we could find. However, after some research we figured, at a minimum it needed to self prime. This means the pump can use a air-water mixture to reach a fully primed pumping condition rather than becoming air-bound (stuck). The pump we ended up buying not only self primes, but has a pressure switch so will turn on and off with the opening and closing of the shower head. This pump also features snap in fittings which makes it easy to setup and breakdown. All we had to do to the pump was install an inline fuse, extended the wiring so it would reach the main battery and add a set of alligator clamps (recycled from the power inverter) and it was ready to go.
To make sure nothing gets in to damage the pump we installed an inline filter designed for use in home irrigation systems. It is simple screen in a housing that can be easily cleaned/replaced. $9 from Home Depot.

The hose assemblies are made up of the cheapest hose and metal fittings we could find. The shower side of the system consists of three hoses; water source to pump, pump to heat exchanger and heat exchanger to shower head.

The shower only takes a couple of minutes to setup.

And the whole lot fits neatly into a 20L bucket.


5 Comments
any pics of Emma trying it out?
No sorry. Can send you some of me if you want? NSFW!!
my my… quite an undertaking but I know how you two like your showers so good on you!
Wow! That’s all I can say, and I guess I’m embarrassed at how dirty we don’t mind being…..
Ben you are fanasticaly handy, I might need to trade Dan in…..
[…] ready for a nice hot shower. This didn’t eventuate, luckily they had cold water and we had a home-made hot shower packed on the roof-rack. Problem solved. We finally parted ways with four days of salt water […]